
Last updated October 31, 2026
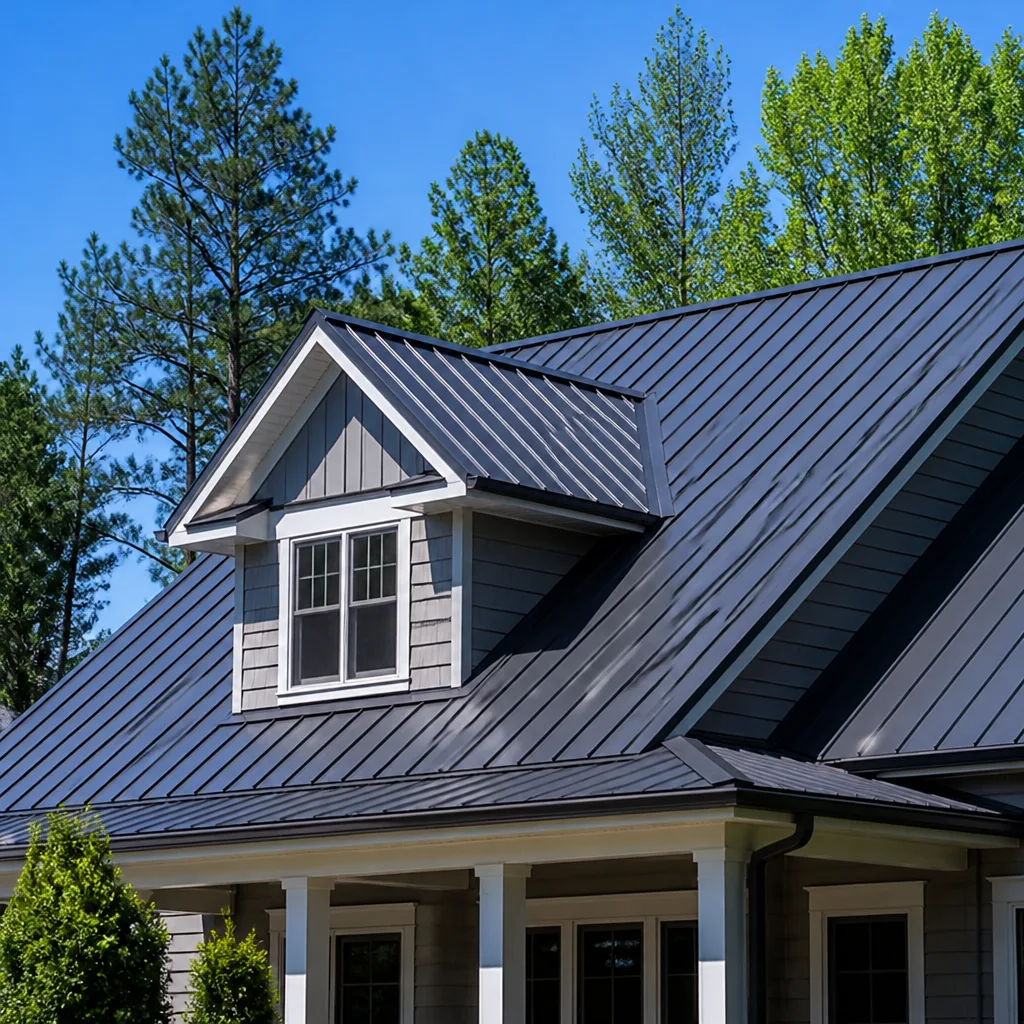 Metal roofing
 Architectural shingles
 Tile roofing
 GAF
 Owens Corning
 Flat & low-slope
Free roof inspection with deck photos before we talk money - GAF and Owens Corning certified installation
Roofing Emergency Preparedness Guide for Rancho Cucamonga Homes
Most homeowners call a roofer for the first time during an emergency. That’s also the moment when contractor availability is at its worst, temporary patch quality is at its lowest, and insurance documentation is hardest to establish. The homeowners who fare best after a Santa Ana wind event or an atmospheric river rainstorm in Rancho Cucamonga did one pre-season roof check and kept two simple things on hand. This guide walks through exactly what to do before, during, and after a roofing emergency so you’re not making five-figure decisions at 2 a.m. with water coming through the ceiling. For Roofing Warning Signs: A Rancho Cucamonga Homeowner’s Reference Guide, see our earlier post. You’ll learn the two weather patterns that drive nearly every emergency roof call in Rancho Cucamonga, the three supplies worth keeping in the garage, and the documentation sequence that makes an insurance claim go smoothly.
Quick Answer
Seasonal Roofing Care for Rancho Cucamonga: Year-Round Homeowner’s Guide starts with the same principle: preparedness comes down to seasonal timing. Santa Ana winds peak between September and January, and atmospheric river rain events typically arrive between December and March. A homeowner who schedules one professional roof inspection before these windows, keeps a heavy-duty tarp, roofing nails, and a waterproof camera or phone on hand, and knows the correct call order (roofer first for emergency mitigation, insurer second for claim documentation) will reduce both damage severity and out-of-pocket repair costs by a measurable margin.
Styles & brands we work with
Table of Contents
- The Two Weather Patterns That Cause Most Rancho Cucamonga Roof Emergencies
- The Pre-Season Roof Check: What to Look For Before Wind and Rain Season
- Three Supplies to Keep on Hand (No Stockpile Required)
- The First 24 Hours After Roof Damage: A Step-by-Step Protocol
- How to Document Roof Damage for an Insurance Claim in Real Time
- Who to Call First: Your Roofer or Your Insurer (And Why the Order Matters)
- Santa Ana Wind Damage vs. Rain Damage: Different Prep, Different Response
- After the Emergency: Turning Temporary Fixes into Permanent Repairs
The Two Weather Patterns That Cause Most Rancho Cucamonga Roof Emergencies
Rancho Cucamonga sits at the base of the San Gabriel Mountains, which puts it directly in the path of two distinct weather systems that account for the overwhelming majority of emergency roof calls we see. The first is the Santa Ana wind event, which typically runs from late September through January. These winds come down through the Cajon Pass and can gust between 50 and 70 miles per hour in exposed foothill neighborhoods like Alta Loma, Etiwanda, and the areas north of the 210. The second is the atmospheric river rain pattern, which arrives between December and March and can drop several inches of rain in a single 24-to-48-hour window.
Each causes a different type of roof failure. Santa Ana winds work shingles loose at the edges, peel back ridge caps, lift flashing around vents and chimneys, and send tree branches and patio furniture across roof surfaces. The damage is often immediate and visible. Atmospheric river rain is more insidious. It finds every small gap, every worn seal, every nail hole that has been quietly degrading for years and turns it into a leak. The rain also saturates decking, which adds weight and can expose structural problems that a dry roof hides well.
Understanding which event you’re preparing for changes what you actually do. Wind season prep focuses on securing loose elements and checking edge details. Rain season prep focuses on seal integrity and drainage paths. A homeowner who gets these two seasons backwards spends time and money on prep that doesn’t match the coming threat. The good news is that both seasons are predictable on the calendar, which means preparation is something you can schedule rather than scramble through.
The Pre-Season Roof Check: What to Look For Before Wind and Rain Season
The single highest-leverage step in roofing emergency preparedness for Rancho Cucamonga homes is a professional roof inspection scheduled before wind season and again before the heavy rain months. We say this as a company that performs Roof Inspection in Rancho Cucamonga for homeowners year-round, and we say it because we have seen the difference between a roof that got checked and one that didn’t. The difference is usually thousands of dollars and the difference between a two-hour repair and a full ceiling replacement inside the house.
A pre-season inspection looks for specific failure points that both Santa Ana winds and atmospheric river rain exploit. Here is what gets checked:
- Loose or lifting shingles at roof edges, valleys, and ridges, which Santa Ana winds will find first
- Flashing around chimneys, pipes, skylights, and vents, which is the number one entry point for driven rain
- Worn sealant and caulk around roof penetrations, which dries out and cracks in the Rancho Cucamonga summer heat before winter rain arrives
- Gutter attachment and slope, because clogged or sagging gutters turn a normal rain into a ceiling leak
- Ridge cap integrity, since a loose cap in a 60-mile-per-hour gust becomes a section of exposed decking within minutes
- Tree limbs within striking distance of the roof, which wind turns into battering rams
You don’t need to climb on the roof to do a basic homeowner-level check. From the ground or with binoculars, you can spot missing shingles, lifted edges, visible tarps from previous repairs, and tree limbs hanging over the roofline. Inside the house, check attic ceilings for water staining, look for daylight showing through the roof boards, and feel for damp insulation during or just after rain. These are useful indicators, but they don’t replace a professional inspection. A trained eye catches things a homeowner stands under every day without noticing.
Our inspection-first approach at Suncrest Roof Repair home means exactly what it sounds like. We inspect before we recommend anything. If the roof is sound, we say so. If there are three specific things that need attention before wind season, we document those three things and give you a written report. That documented starting point is itself a preparedness asset. When an emergency happens later, you have a baseline record of the roof’s condition, which becomes genuinely useful in an insurance conversation.
Three Supplies to Keep on Hand (No Stockpile Required)
Most emergency prep lists read like a doomsday shopping list. This one doesn’t. After years of responding to roofing emergencies in Rancho Cucamonga, we can tell you the three items that actually matter when a roof gets damaged and a professional hasn’t arrived yet. Everything else is nice to have. These three things contain the damage.
- A heavy-duty polyethylene tarp, minimum 6 mil thickness, at least 20 by 30 feet. This is the difference between a damaged roof and a ruined interior. A thin blue tarp from the hardware store will shred in the first gust of Santa Ana wind. Get a real one. In a pinch, a 6-mil tarp can cover an entire roof slope or a large section of damaged decking and keep water out for several days until a professional repair can be scheduled. You will also need something to secure it.
- Roofing nails or a cap nail gun with 1-inch plastic cap nails. Nails driven through a tarp into the roof create holes, but cap nails seal those holes with the plastic washer. This is the difference between a tarp that leaks and a tarp that holds. If you are at all uncomfortable getting on the roof, do not. The tarp protocol we describe below includes a safety note about when to stay off the roof entirely.
- A waterproof container or large plastic bin for interior protection. When water comes through the ceiling, your first job inside the house is to move furniture, electronics, and anything valuable out of the drip path. A bin to catch water helps, but the real value is having something to cover what you can’t move. Keep a couple of garbage bags or a single large bin in a known location so you are not hunting for one while the ceiling is actively dripping.
That’s the list. Three items. Everything else is either a professional’s job or something you can get later. The point of keeping these on hand is not to turn you into a roofer. It’s to buy time. A tarp properly secured over roof damage right after an event buys 48 to 72 hours of protection, which is enough time to get a professional out, get an inspection done, and make a real repair decision instead of a panicked one. If you do nothing else from this guide, go buy the tarp and the cap nails this weekend and put them in the garage.
The First 24 Hours After Roof Damage: A Step-by-Step Protocol
What you do in the first day after roof damage determines the scope of the repair, the size of the insurance claim, and whether the interior of your home gets damaged at all. The sequence matters. Here is the protocol we recommend to every Rancho Cucamonga homeowner who calls us after a wind event or rainstorm.
- Assess from the ground first. Walk the perimeter of the house. Look for missing shingles, visible decking, lifted flashing, tree branches on the roof, and shingle pieces in the yard. Do not climb a ladder. Do not get on the roof. If you can’t see the damage from the ground, you don’t need to see it from the roof. Let a professional do that. High winds can have loosened shingles that look intact but are ready to slide, and a roof that’s been rained on is slippery in places you can’t predict.
- Protect the interior immediately. If water is coming in or you suspect it might, move furniture and valuables out of the drip path. Put down a bin, a tarp, or heavy towels. If water is pooling in the ceiling, you can relieve the pressure by puncturing the drywall at the lowest point of the bulge with a screwdriver or nail and letting the water drain into a bucket. This is safe to do and prevents a larger ceiling collapse. Do it before the water spreads across the ceiling joists and into interior walls.
- Document everything before you touch anything on the roof. Take photos from multiple angles. Get wide shots that show the entire roof plane, then close-ups of specific damage. Document interior damage too, including the ceiling stain, standing water, and damaged belongings. This photo set becomes the foundation of your insurance claim, and insurance adjusters want to see the condition before any temporary repairs were made. If you missed this step and tarped over the damage, you’ve made the claim harder to prove.
- Tarp if it is safe to do so. If the damage is confined to a single area and you can reach it with a ladder without putting yourself at risk, tarping the damaged section will prevent further water intrusion. Use the 6-mil tarp and cap nails from your supply kit. Anchor the tarp so it extends at least 4 feet past the damaged area on all sides. Fold the top edge under itself and nail through the folded edge so wind can’t get underneath and rip it off. In high-wind conditions, skip the tarp and focus on interior protection. A tarp that blows off does no good and becomes a hazard to your neighbors’ property.
- Call a roofing professional for an emergency assessment. This step comes before calling your insurer, and the reason is explained in detail in the next section. For now, know that getting a professional’s eyes on the damage early gives you an assessment you can read to your insurer, a documented scope of damage from someone who knows what a wind versus rain failure looks like, and a temporary repair that will actually hold until the permanent fix happens.
- Call your insurer. Once you have photos, a professional assessment, and a temporary repair in progress, call your insurance company to open a claim. You’ll be able to describe the damage accurately, provide documentation immediately, and demonstrate that you took reasonable steps to mitigate further loss, which is a duty every homeowners policy includes.
This sequence is the difference between a claim that gets approved in weeks and one that sits in limbo for months. The homeowners who fare best after a roofing emergency in Rancho Cucamonga are the ones who moved through these steps deliberately instead of reacting to panic.
How to Document Roof Damage for an Insurance Claim in Real Time
Insurance adjusters are not roof inspectors, and they’re not usually on site within the first day or two after a widespread wind or rain event. What they rely on is your documentation. The quality and completeness of your photos, combined with a professional roofer’s written assessment, determines how smoothly the claim moves. Most homeowners take too few photos, from too few angles, at the wrong time. Here is the sequence that actually works.
The order matters because it tells the story of the event, and insurance claims are evaluated as stories. Adjusters need to see the roof before any alteration, the specific damage, the source of the failure, and the consequence inside the home. Each photo set answers a question.
- Context shots first. Stand at the property line and photograph the entire house. Then walk a full circle and take one photo from each corner. These establish which roof slopes are involved and the general condition of the property. Do this before any work begins and before any tarp goes on.
- Damage close-ups from the ground. Zoom in on missing shingles, lifted edges, exposed decking, bent flashing, and anything that looks wrong. If a section of ridge cap is gone, photograph it from both ends. If shingles are piled in the yard, photograph where they landed. These close-ups are the evidence the adjuster will compare against the roofer’s report.
- Interior consequence shots. Photograph the ceiling stain, the water pooling on the floor, the wet wall, the damaged furniture. Then photograph the room from the doorway so the adjuster can see the damage in context. Include the path of the water. If the stain extends from a bathroom ceiling down a wall, show the full path.
- Get a roofer’s written assessment before the adjuster visits. This is a step most homeowners skip, and it’s a mistake. When a professional roofer inspects the damage and writes a report describing the cause, the extent, and the recommended repair, you now have a third-party document that supports your claim. Insurance adjusters respect a professional assessment because it removes guesswork. At Suncrest Roof Repair, our Roof Inspection in Rancho Cucamonga service produces exactly this kind of written document, and homeowners routinely provide it to their insurers as part of a claim.
- Photograph the temporary repair. Once a tarp is in place or an emergency patch has been made, photograph that too. It establishes that you took reasonable steps to prevent further damage, which is a requirement in most homeowners policies. Save every receipt for the tarp, the cap nails, the plastic bin, and anything else you bought to mitigate the loss. These are typically reimbursable under the policy.
One more thing about timing: photograph the roof again after the next significant rain. If the temporary repair held, you’ve got more evidence that the professional assessment was accurate. If it leaked, you’ve caught a second source of water intrusion early. Both outcomes strengthen your position.
Who to Call First: Your Roofer or Your Insurer (And Why the Order Matters)
The instinct after roof damage is to call the insurance company first. It feels like the responsible thing to do. But in our experience across hundreds of Rancho Cucamonga roofing emergencies, calling a roofer first produces a better outcome for the homeowner in nearly every case. Here’s why the order matters.
When you call your insurer first, the conversation typically starts with you describing damage you can’t fully see, using language that may not match the policy definitions the adjuster will apply. You might say “the roof is destroyed” when what actually happened is that five shingles blew off one corner. That sentence goes into the claim file. It becomes context for the adjuster. If the adjuster then visits and finds damage that’s less severe than the claim description implied, the entire claim gets filtered through skepticism, which is not where you want to start.
When you call a roofer first, you get a professional who can walk the roof, identify exactly what failed and why, assess whether the damage is wind-related or the result of pre-existing wear, and give you a written scope of what it will take to repair it. You then call your insurer with facts instead of guesses. You can describe the exact damage, provide the roofer’s report, share the photo set you took, and explain the temporary mitigation you’ve already completed. That call goes very differently. The claim gets filed with documentation attached from the start.
The order also matters for mitigation. Your insurance policy requires that you take reasonable steps to prevent further damage after an event. If you call your insurer first and wait for an adjuster to visit before calling a roofer, you may be leaving the roof unprotected for days while water continues to intrude. A roofer can be on site the same day or the next morning in most cases, get a tarp or temporary patch in place, and stop the loss. That’s the mitigation your policy expects. We’ve seen claims denied or reduced because the homeowner left a damaged roof open to the weather for a week while waiting on the insurance process.
For Roof Repair in Rancho Cucamonga, the emergency pathway is straightforward. Call Suncrest at (866) 538-0713. We’ll inspect the damage, document it, make a temporary repair if needed, and provide a written assessment you can take straight to your insurer. Then you call your insurance company with the full picture.
Santa Ana Wind Damage vs. Rain Damage: Different Prep, Different Response
The two weather events that dominate roofing emergencies in Rancho Cucamonga don’t just arrive in different seasons. They damage roofs in fundamentally different ways, which means the prep and the response should be different too. Treating them as the same problem leads to preparing for the wrong threat.
Santa Ana wind damage is acute and immediate. A gust hits, and shingles are gone. The damage happens in seconds and it’s usually obvious. The prep for wind season focuses on securing loose elements. Before September, have your roof inspected for lifted shingles, loose ridge caps, and failing flashing. Trim tree limbs that overhang the roof. Secure or store anything in the yard that wind could turn into a projectile. After a wind event, look for missing shingles first, check the ridge line, and inspect flashing around any roof penetration. Wind damage often looks worse than it is. A single missing shingle can be replaced in an hour, but if it’s left open through a rainstorm, the water damage multiplies the repair cost by ten.
Atmospheric river rain damage is cumulative and sneaky. The rain doesn’t blow shingles off. It finds every existing seal failure, every nail hole, every worn spot, and lets water in slowly. The first sign is often a ceiling stain or a drip, not a visual change to the roof. Prep for rain season is about seal integrity. Before December, have your roof inspected specifically for sealant failures around penetrations, worn shingle surfaces, and any area where the granules are wearing thin. Clean out gutters and confirm drainage paths are clear. After a rain event, check the attic for damp insulation, look for new ceiling stains, and watch for water beading on the underside of the roof deck. Rain damage is often less visible from outside than wind damage, but it causes more expensive interior repairs because it’s discovered later.
Here’s the practical takeaway: if you only do one inspection a year, do it in late summer so it catches both seasonal risks before they arrive. The inspection covers wind vulnerabilities in September and rain vulnerabilities in December. One check, two seasons. That’s the efficient path.
After the Emergency: Turning Temporary Fixes into Permanent Repairs
A tarp or temporary patch is not a repair. It’s a bridge. The question after an emergency is what the permanent solution should be, and that’s where a full-lifecycle roofing company earns its value. Because Suncrest Roof Repair handles inspection, repair, and full replacement, the recommendation you get isn’t driven by what we’re equipped to sell. It’s driven by what the roof actually needs.
Sometimes the answer is a targeted repair. A wind event tore off a section of shingles on one slope, the rest of the roof is sound, and the repair is straightforward. Sometimes the answer is more involved. The rain exposed a roof that was already near the end of its service life, and the leak was the symptom, not the cause. In either case, you want a recommendation based on the roof’s condition and your budget, not on what a contractor happens to have in the warehouse.
This is where the multi-brand material access matters. In our experience, different Rancho Cucamonga homes need different roofing materials for different reasons. A home in the Alta Loma foothills that faces the full force of the Santa Anas might benefit from a heavier architectural shingle from GAF or CertainTeed with a higher wind rating. A home in a shaded pocket of Etiwanda might do fine with a standard three-tab from Owens Corning. The point is that the material recommendation should follow the home’s needs and the homeowner’s budget, not the other way around. When a roofer carries seven major brands including Boral, GAF, CertainTeed, and Owens Corning, the conversation changes from “here’s what we install” to “here’s what your roof actually needs.”
After the temporary repair is in place and the insurance claim is filed, schedule the permanent repair or replacement on a timeline that makes sense for the roof’s condition and the season. Don’t leave a tarp on through the next Santa Ana season. Don’t let a temporary patch become the permanent solution because the claim process took months. The goal is to close the loop before the next weather event arrives, and that’s exactly what a thoughtful full-lifecycle approach allows.
Common Mistakes to Avoid
- Waiting until the roof is actively leaking to get it inspected. By the time water shows up on the ceiling, the damage has been progressing for weeks or months. A pre-season inspection catches the seal failure or the worn shingle before it becomes an emergency call.
- Using a lightweight tarp from the big-box store. A 3-mil blue tarp shreds in the first Santa Ana gust and does nothing to stop driven rain. If you’re going to tarp at all, use 6-mil minimum and secure it with cap nails.
- Calling the insurance company before a roofer has looked at the damage. You end up describing damage you haven’t seen with words that get recorded in the claim file. A professional assessment first changes the entire insurance conversation.
- Skipping the interior documentation. The adjuster needs to see the ceiling stain, the wet wall, and the damaged belongings. Exterior photos alone don’t establish the full scope of the loss.
- Leaving roof-mounted antennas, satellite dishes, or loose flashing unattended through wind season. These become wind-catch points and rip larger sections of roof off when they fail.
- Assuming one inspection covers both seasons. Wind prep and rain prep are related but not identical. An inspection that checks for loose shingles but skips the sealant around roof penetrations leaves you exposed to the December rains.
- Leaving a temporary tarp in place indefinitely. Tarps degrade under Rancho Cucamonga’s summer sun and become a new penetration point. Temporary means weeks, not months.
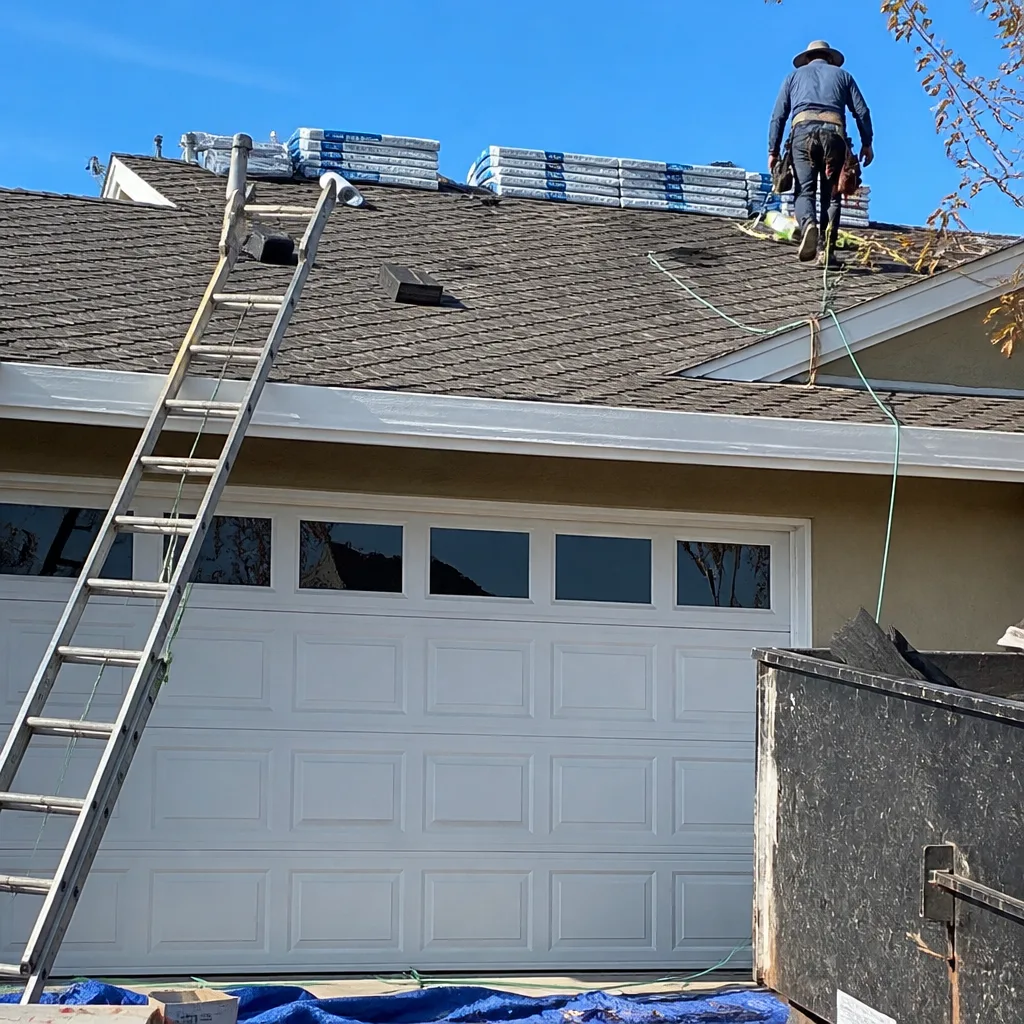
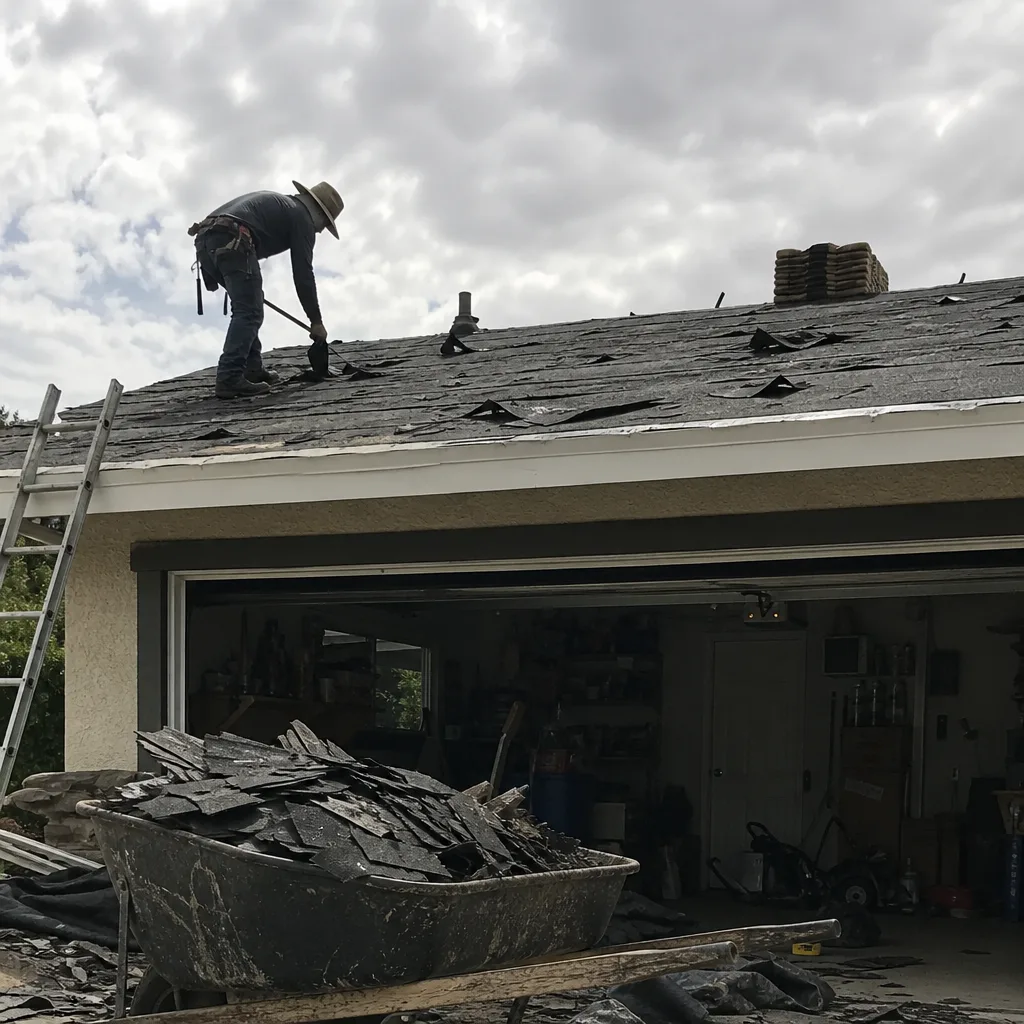
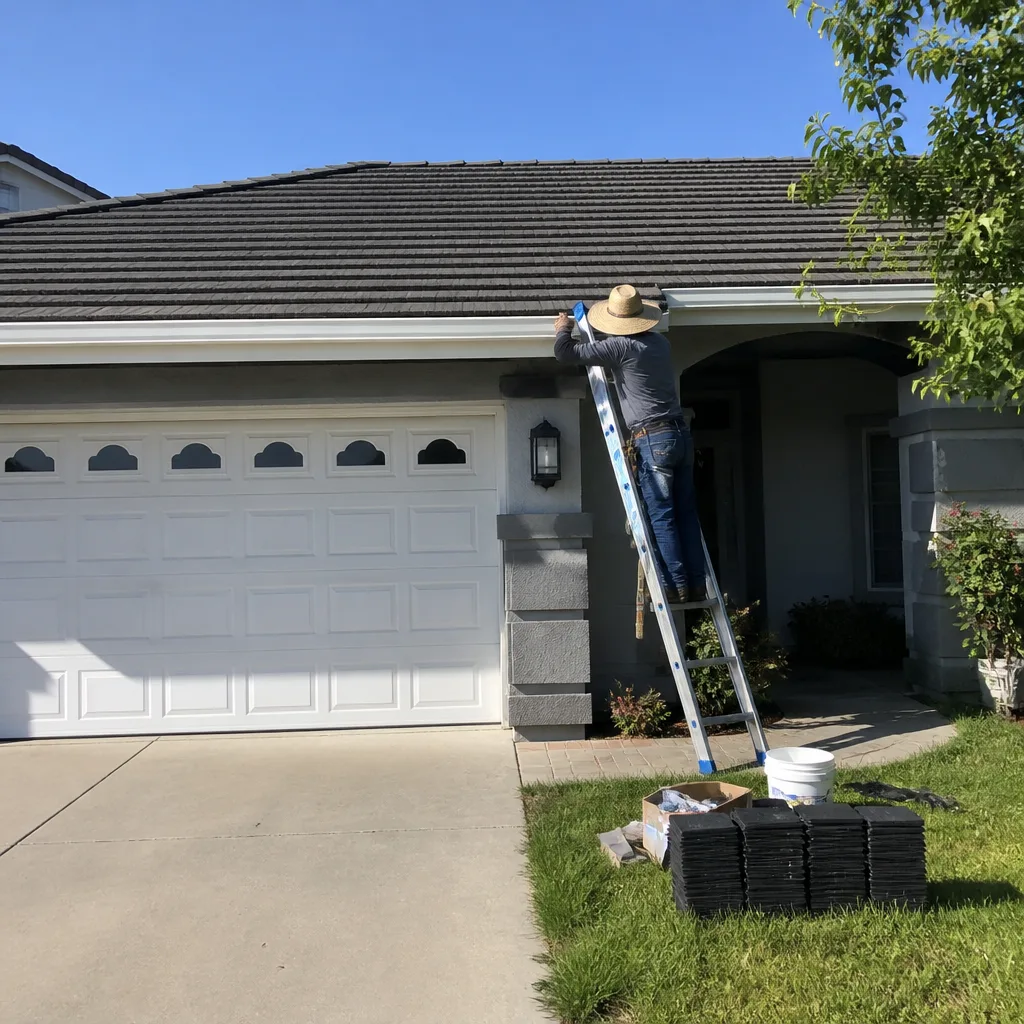
See the difference
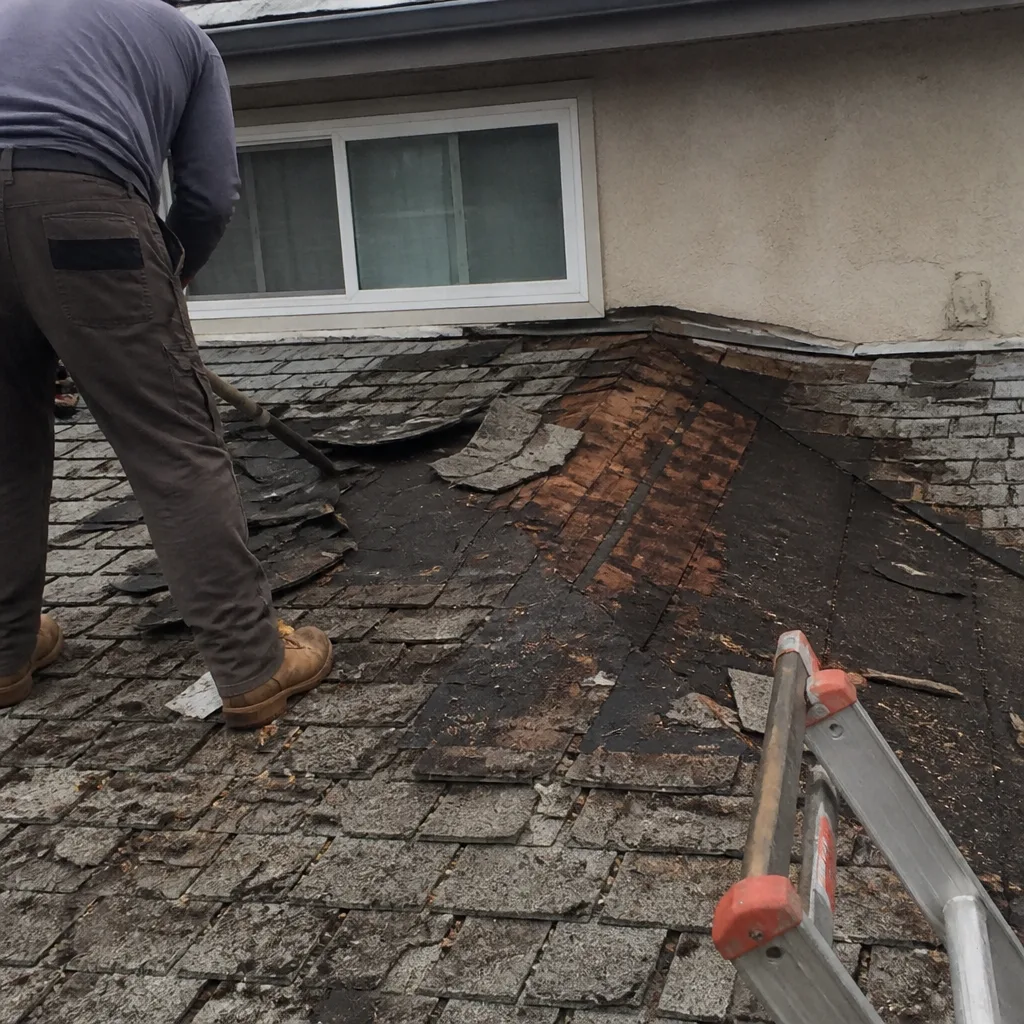 Before
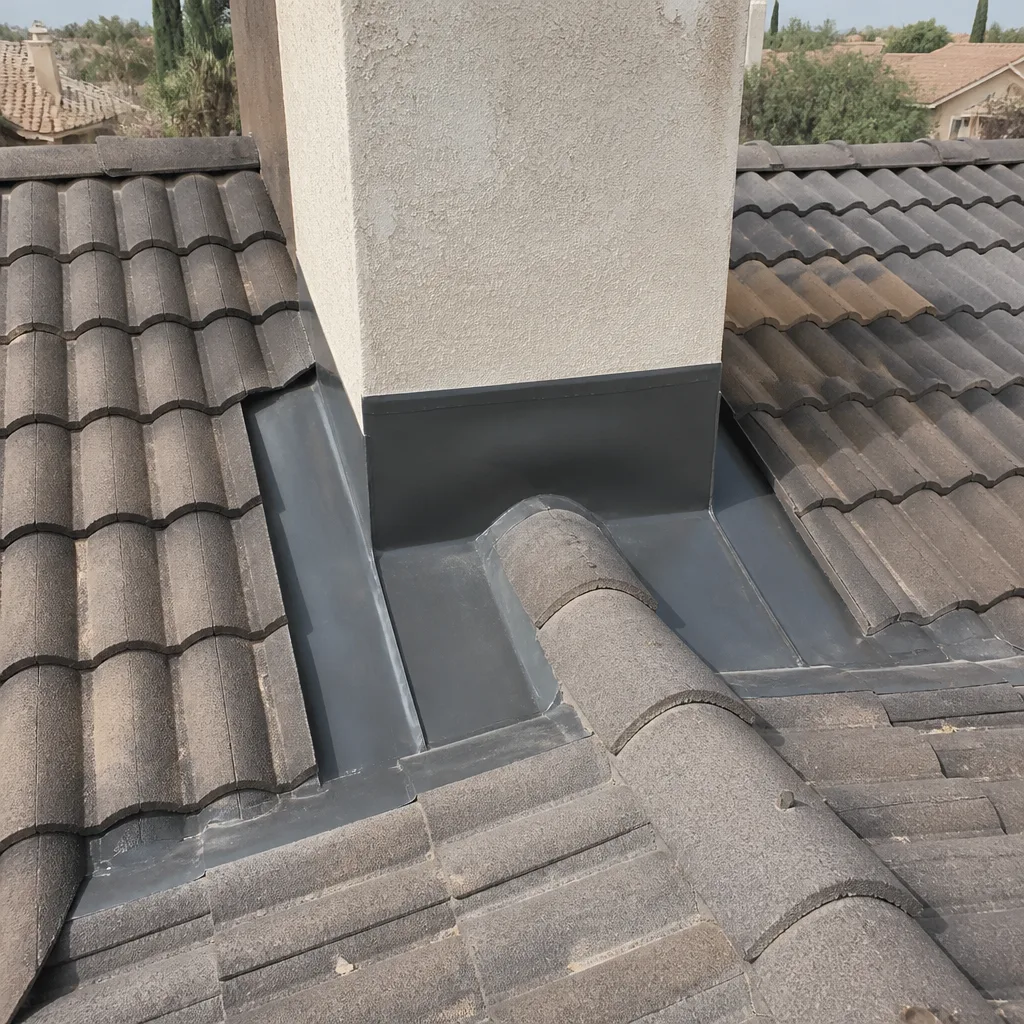 After
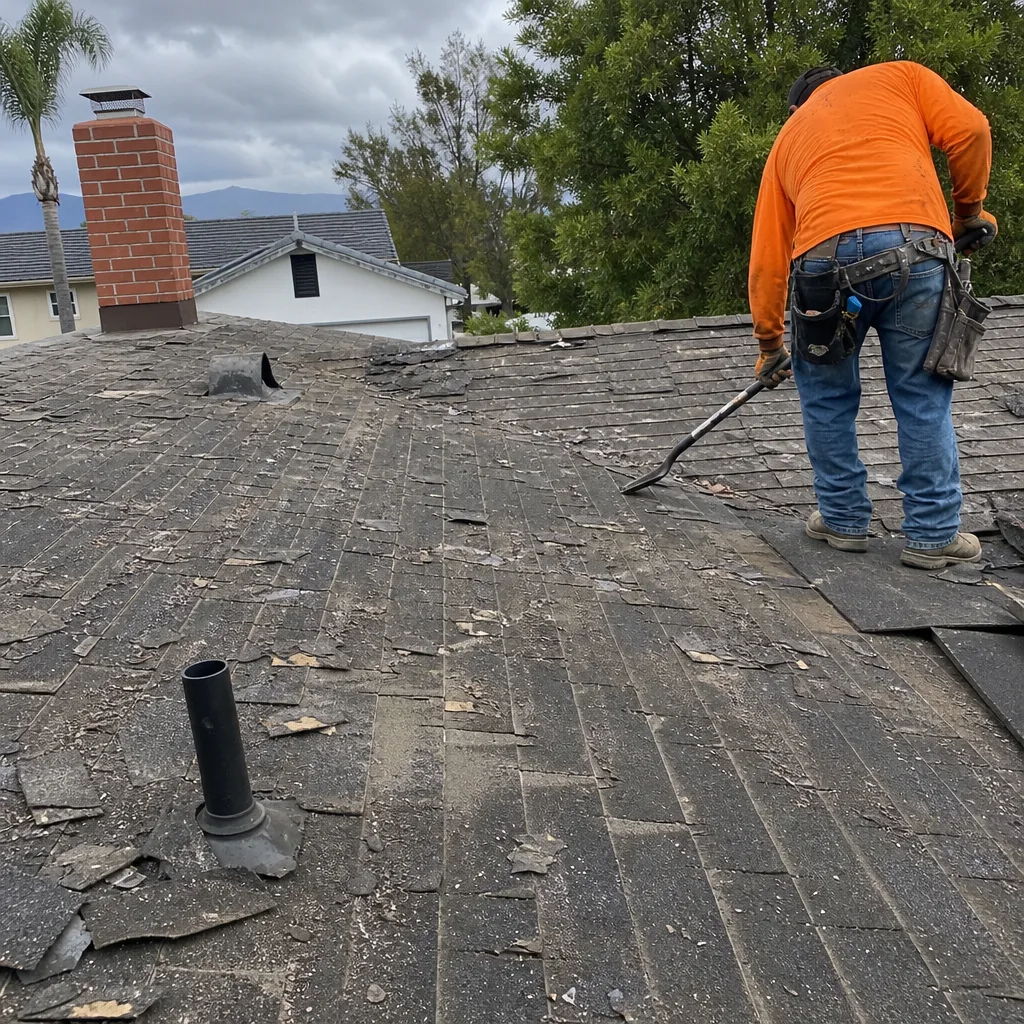 Before
 After
 Before
 After
When to Call a Professional
If you can see missing shingles from the ground, if a section of ridge cap is gone, if water is coming through the ceiling, or if a tree limb has struck the roof, call a professional. If the roof is making popping or creaking sounds during high winds, call a professional. If you see daylight through the roof boards from inside the attic, call a professional. If your roof is more than fifteen years old and you haven’t had it inspected in three years or more, call a professional before the next seasonal window. These are the situations where a trained inspection pays for itself immediately. Suncrest Roof Repair offers free estimates in Rancho Cucamonga. Call (866) 538-0713 and we’ll walk the roof, document what we find, and give you a straight answer about what needs to happen next, whether that’s a targeted repair or a full Roof Replacement in Rancho Cucamonga.
Frequently Asked Questions
Emergency roof repairs in Rancho Cucamonga typically range from $350 to $1,200 for a targeted fix like replacing a few missing shingles or resealing flashing, while more extensive storm damage can run $1,500 to $4,000 depending on the roof area involved and whether decking needs replacement. Early intervention is the biggest cost control lever. A small repair done before rain gets behind the shingles costs a fraction of what the same leak costs after water has saturated insulation and drywall. Call (866) 538-0713 for an exact quote. Estimates are free.
Most homeowners policies in California cover sudden and accidental roof damage from wind, hail, or falling objects like tree limbs, but they usually won’t cover damage from gradual wear or deferred maintenance. This is the single strongest argument for the pre-season inspection. If you have a documented professional inspection showing the roof was in good condition before the storm, your claim is far easier to establish than if the adjuster finds years of neglected wear alongside the storm damage.
You can tarp a roof if the damage is in a single accessible area and you’re comfortable on a ladder, but you should not get on a roof that’s wet, steep, or has visible structural damage. The safest approach for most homeowners is to focus on interior protection and let a professional handle the tarp. A poorly secured tarp that blows off in the next Santa Ana gust creates a new hazard and does nothing for your claim. Call (866) 538-0713 if you’re unsure whether it’s safe.
Call as soon as you’ve documented the damage with photos. Same-day or next-morning response is appropriate for active leaks, missing sections of roofing, or visible decking. The sooner a professional inspects the damage and installs a temporary repair, the less water gets into your home and the stronger your mitigation position with your insurer. For non-emergency issues, within a few days is fine.
A temporary repair, usually a tarp or a quick patch, is designed to stop water intrusion and buy time. It’s not meant to last through a full seasonal cycle. A permanent repair restores the roof’s original water-shedding capability and typically involves replacing the damaged shingles, reflashing the penetration, and sealing everything properly. The permanent repair is also what triggers manufacturer material warranties when the correct shingle is used.
For most targeted shingle repairs and temporary tarping, no permit is required in Rancho Cucamonga, though full details are in Roofing Permits, Codes & Inspections in CA: What You Need to Know. The city generally requires permits for structural repairs and full roof replacements, which your roofer will handle as part of the job. This is a conversation worth having during the emergency assessment. A licensed roofer will know exactly what triggers permit requirements and what doesn’t, and will pull the permits when they’re needed.
The Bottom Line
Roofing emergencies in Rancho Cucamonga are predictable. The Santa Ana winds arrive on a calendar, and so do the atmospheric river rain events. A homeowner who gets one professional inspection before those seasonal windows, keeps a 6-mil tarp and cap nails in the garage, documents damage before touching anything, and calls a roofer before calling the insurer is prepared in the way that actually counts. That preparation turns a potential five-figure interior restoration into a manageable repair bill. From the first inspection to the final shingle, the principle stays the same: know what you’re dealing with before you spend a dollar. Browse more guides & resources for year-round roof protection. If you’d like your roof assessed before wind or rain season, the team at Suncrest Roof Repair is glad to walk it with you.
Written by the team at Suncrest Roof Repair, serving Rancho Cucamonga since 2015.